How to Add Attachments in LinkedIn: Complete Guide for Higher Engagement [2025]

Will McTighe
February 27, 2025
Last updated: March 19, 2025
Introduction
Hey, it's Will McTighe. When I first started on LinkedIn in early 2024, I had a hard time making posts that people would stop to read. Text-only posts just weren't working.
My big change came when I started adding attachments - images, and carousels - to my posts. I went from getting 5-10 likes to hundreds really quickly.
Whether you want to show off your know-how with PDFs, share a chart, or make a post with slides, knowing how to add attachments to your LinkedIn posts is a must for anyone who wants to build their brand on the site.
TL;DR
Adding attachments to LinkedIn posts is simple but powerful: Click "Start a post," write your text, click the "Add media" button or plus icon, pick your attachment type (document, image, etc.), upload your file, add a title if needed, and post. This quick add-on can get you way more engagement and help build your brand on LinkedIn.
Table of Contents
- The Power of Visual Content on LinkedIn
- How to Add Attachments to LinkedIn Posts
- Adding Images and Photos to LinkedIn Posts
- Creating LinkedIn Carousels for Higher Engagement
- Best Practices for LinkedIn Attachments
- Common Problems and Troubleshooting
- How Saywhat Can Amplify Your LinkedIn Content Strategy
The Power of Visual Content on LinkedIn
I've seen LinkedIn posts with visuals get way more engagement than text only posts.
Why? Well think about how much space they take up on the feed. Text-only posts take up way less space on the feed than posts with visuals so they're less likely to catch someone's attention. They're also black and white vs. visuals which are usually colored.
Visual content works because:
- It catches the eye in a busy feed
- It shares big ideas quickly
- It makes your content easy to remember
- It shows you put in extra effort
- It gives readers more value than just text
When I looked at my top 20 posts from last year, all of them had some kind of visual - infographic, picture or carousel.
The facts don't lie – if you want more people to see your posts on LinkedIn, you need to get good at adding files.
How to Add Attachments to LinkedIn Posts
Adding documents like PDFs, PNG or JPG files to your LinkedIn posts is easy once you know the steps.
Here's exactly how I do it:
Step 1: Start Your Post
Head to LinkedIn's homepage and click on "Start a post" at the top of your feed.
Write the text portion of your post first – I always recommend having the text portion of your post ready before adding attachments. I typically follow these guidelines for writing the text portion of my post.

Step 2: Click the Add Media Button
At the bottom of the post creation box, look for the "Add media" icon (it looks like a picture).
Or directly click the plus "+" icon next to "Add media" to reveal more options.

Step 3: Select the Document Icon
After clicking the plus icon, you'll see several media options appear.
Choose the document icon (it's usually the second-to-last option in the row).
![]()
Step 4: Choose and Upload Your File
A file browser will open, allowing you to select the document from your computer.
Navigate to your document, select it, and click "Open."

LinkedIn supports several file formats including:
- PDF (recommended for best results)
- PowerPoint (.ppt, .pptx)
- Word (.doc, .docx)
I always post PDFs because I found they perform well and easy to view across all devices.
They're also easier for viewers to download.
Step 5: Add a Title to Your Document
LinkedIn will prompt you to add a title to your document.
This title is what users will see when your post appears in their feed, so make it compelling and relevant.
It doesn't have to match your filename – focus on creating a title that will make people want to view your document and is SEO optimized.

Step 6: Publish or Schedule Your Post
Once your document is uploaded and titled, you can either:
- Click "Post" to publish immediately
- Click the clock icon to schedule your post for later

I always schedule my posts for the sake of my sanity.
I've seen the best engagement when posting documents Tuesday through Thursday between 7-9 AM US Eastern Time.
Adding Images and Photos to LinkedIn Posts
When I was growing from 3,000 to 100,000 followers, images, in particular infographics, were my secret weapon.
Here's how to add them effectively:
Method 1: Using the Media Icon
- Start writing your post
- Click the image icon (picture symbol) at the bottom of the post creation box
- Select the image from your computer
- Add alt text for accessibility (this also helps with SEO)
- Position your image as desired
- Complete your post and publish

Method 2: Drag and Drop
For a quicker approach:
- Start your post
- Simply drag an image from your desktop directly into the post composer
- Adjust as needed and publish
Pro Tip: I've tested this extensively and found that portrait rectangular images (3:4 ratio) typically perform better than other dimensions on LinkedIn, with 1200 x 1500 pixels being the ideal size. Square images take up less space on the feed and we want to maximize the amount of space that each post takes up on the feed to have the highest chance of grabbing attention.
Optimizing Images for LinkedIn
- File names matter: I rename all my LinkedIn images with keyword-rich names before uploading
- Compress images to under 5MB while maintaining quality
- Use original, authentic images rather than stock photos whenever possible
- Include branding elements for recognition across the platform
When I share charts or graphs, I make sure the text, in particular the title, is large enough to be readable on mobile devices.
Creating LinkedIn Carousels for Higher Engagement
LinkedIn carousels are one of the most effective content types on the platform. These are essentially multi-page documents (PDFs) that users can swipe through.

How to Create a Carousel Post:
- Design your carousel slides (I use Figma for this. A lot of people use Canva)
- Export as a multi-page PDF
- Follow the document upload steps above
- Make sure your first slide is captivating and creates curiosity – it is your "cover"
The key is creating content that tells a story across slides and encourages viewers to keep swiping.
Carousel Best Practices:
- Keep each slide simple and focused on one key point
- Use consistent design elements across all slides
- Add page numbers to help users track their progress
- Include a clear CTA on the final slide
- Limit to 8-12 slides for optimal engagement

One of my recent successful carousels was a 11-slide breakdown of "10 Things Not To Say In A Job Interview". It generated over 860,000 impressions because people kept swiping to see each tip.
Best Practices for LinkedIn Attachments
After analyzing what worked best across my journey to 340,000+ followers, here are the attachment strategies that consistently drive engagement:
Pair Strong Copy with Strong Visuals
Your written post can complement or repeat your attachment.
I often use the text hook and first slide of a carousel to create curiosity and the rest of the attachment to deliver value.

Be Strategic With Previews
For documents and carousels, the first page is your "thumbnail" in the feed.
Design it to capture attention with:
- Bold headlines
- Minimal text
- High contrast colors
- Clear value proposition
- Hints of insider knowledge

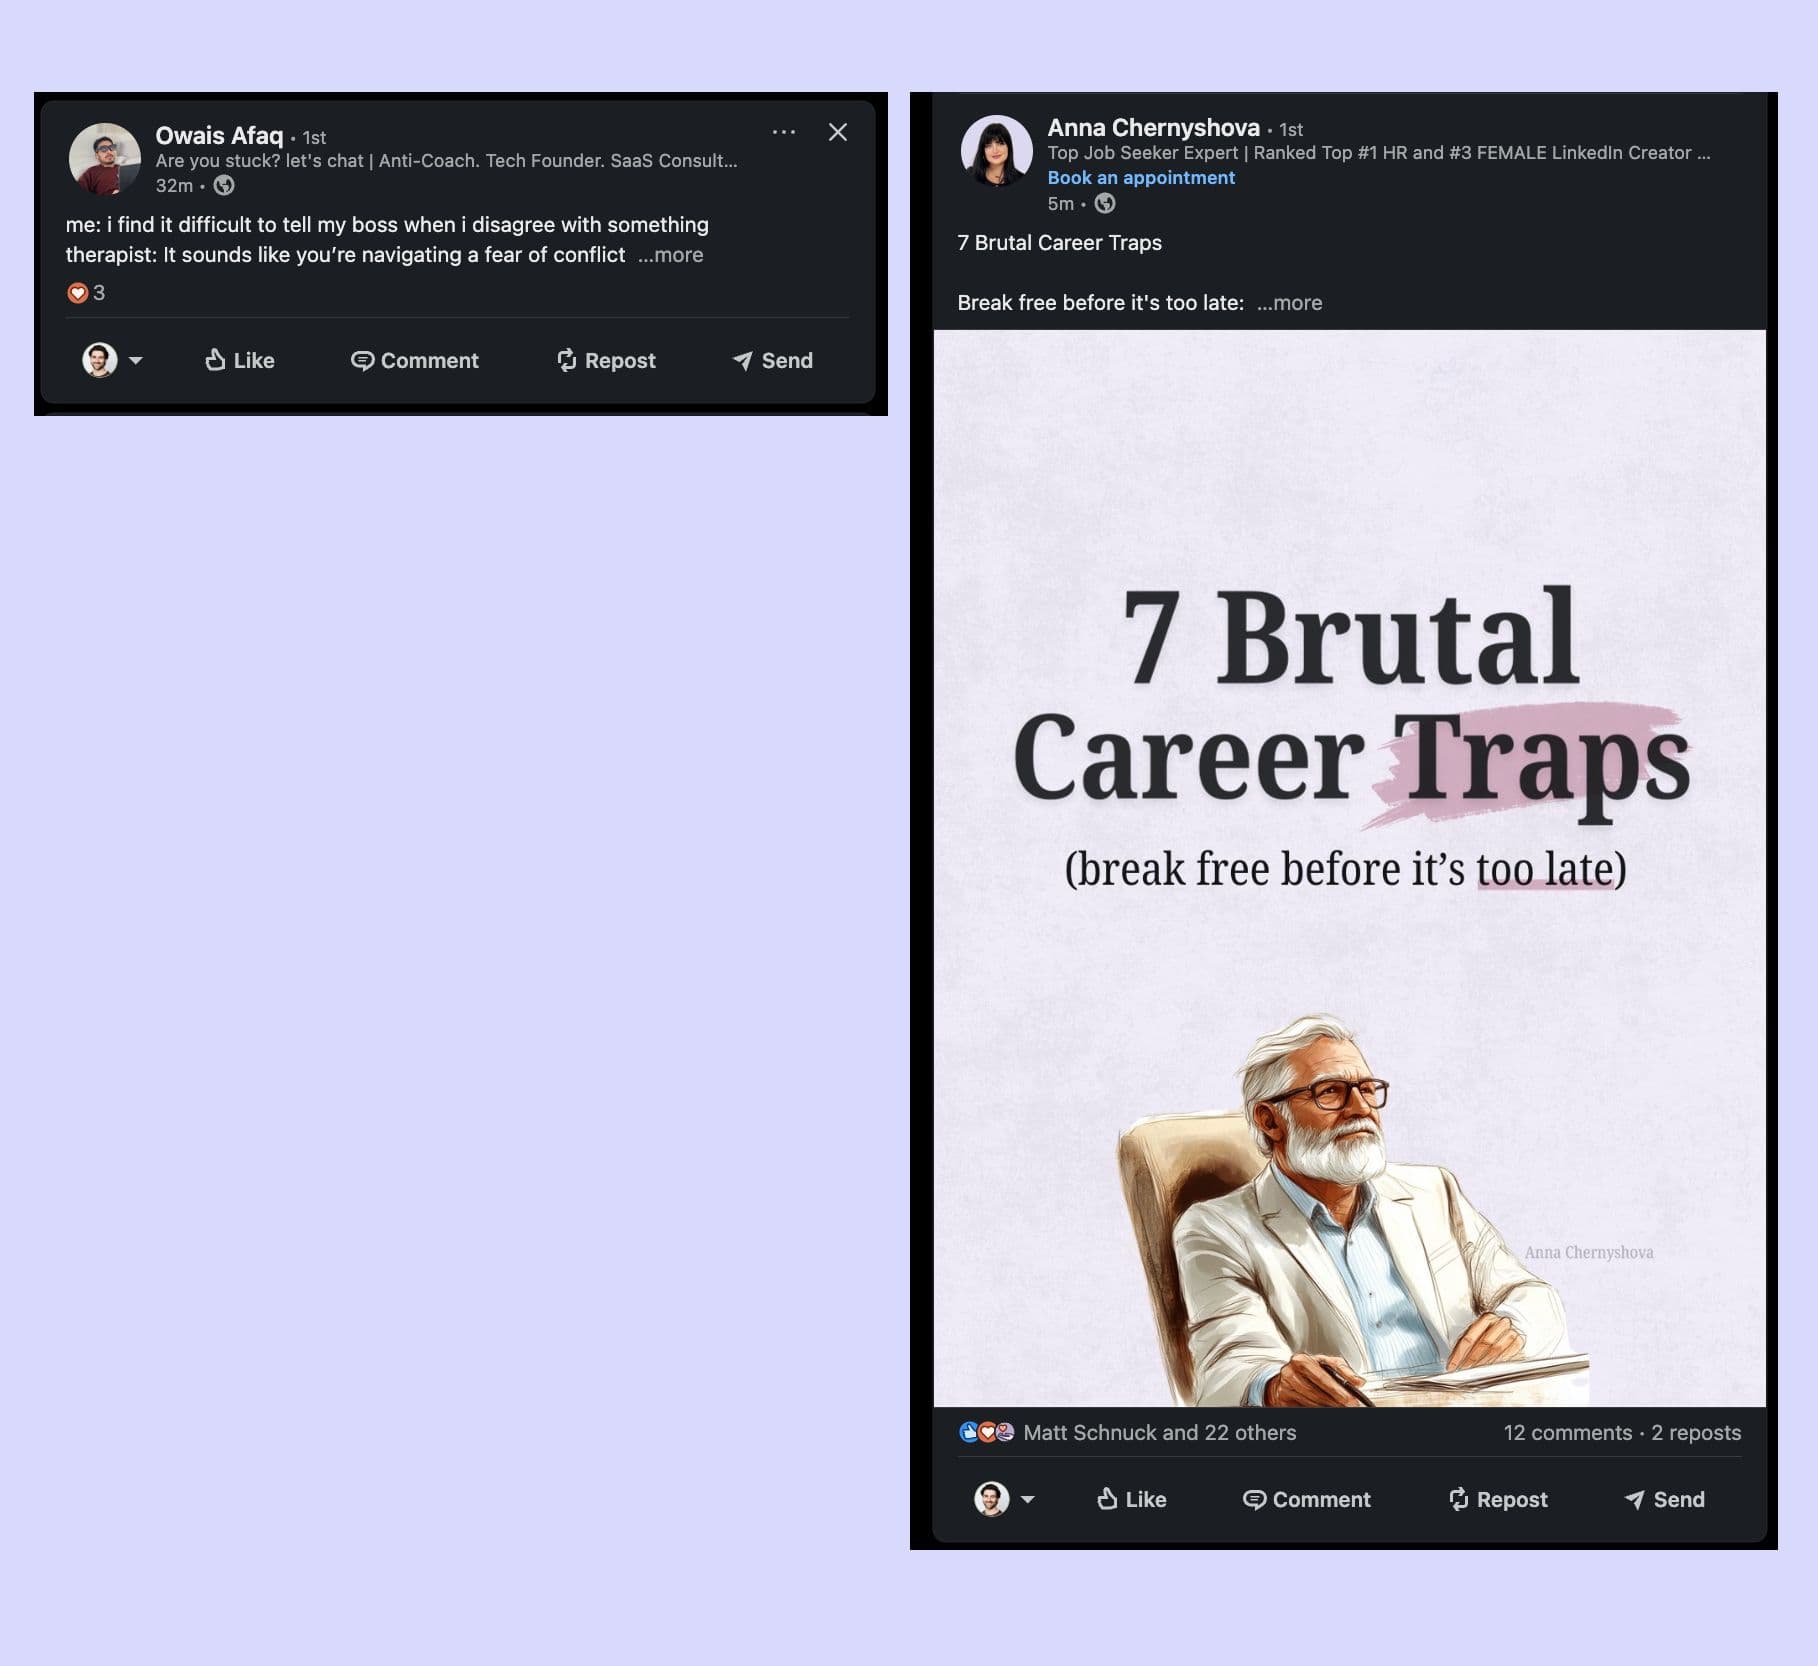
Pro Tip: Use words like "Secretly", "Underrated", "Subtle", "Secrets", "Harsh" and "Brutal" on your carousel front cover to make your reader think they will get insider knowledge by reading your carousel.
Also check out what is already working on LinkedIn for inspiration.
Consider Mobile Viewers
Over 57% of LinkedIn users browse on mobile.
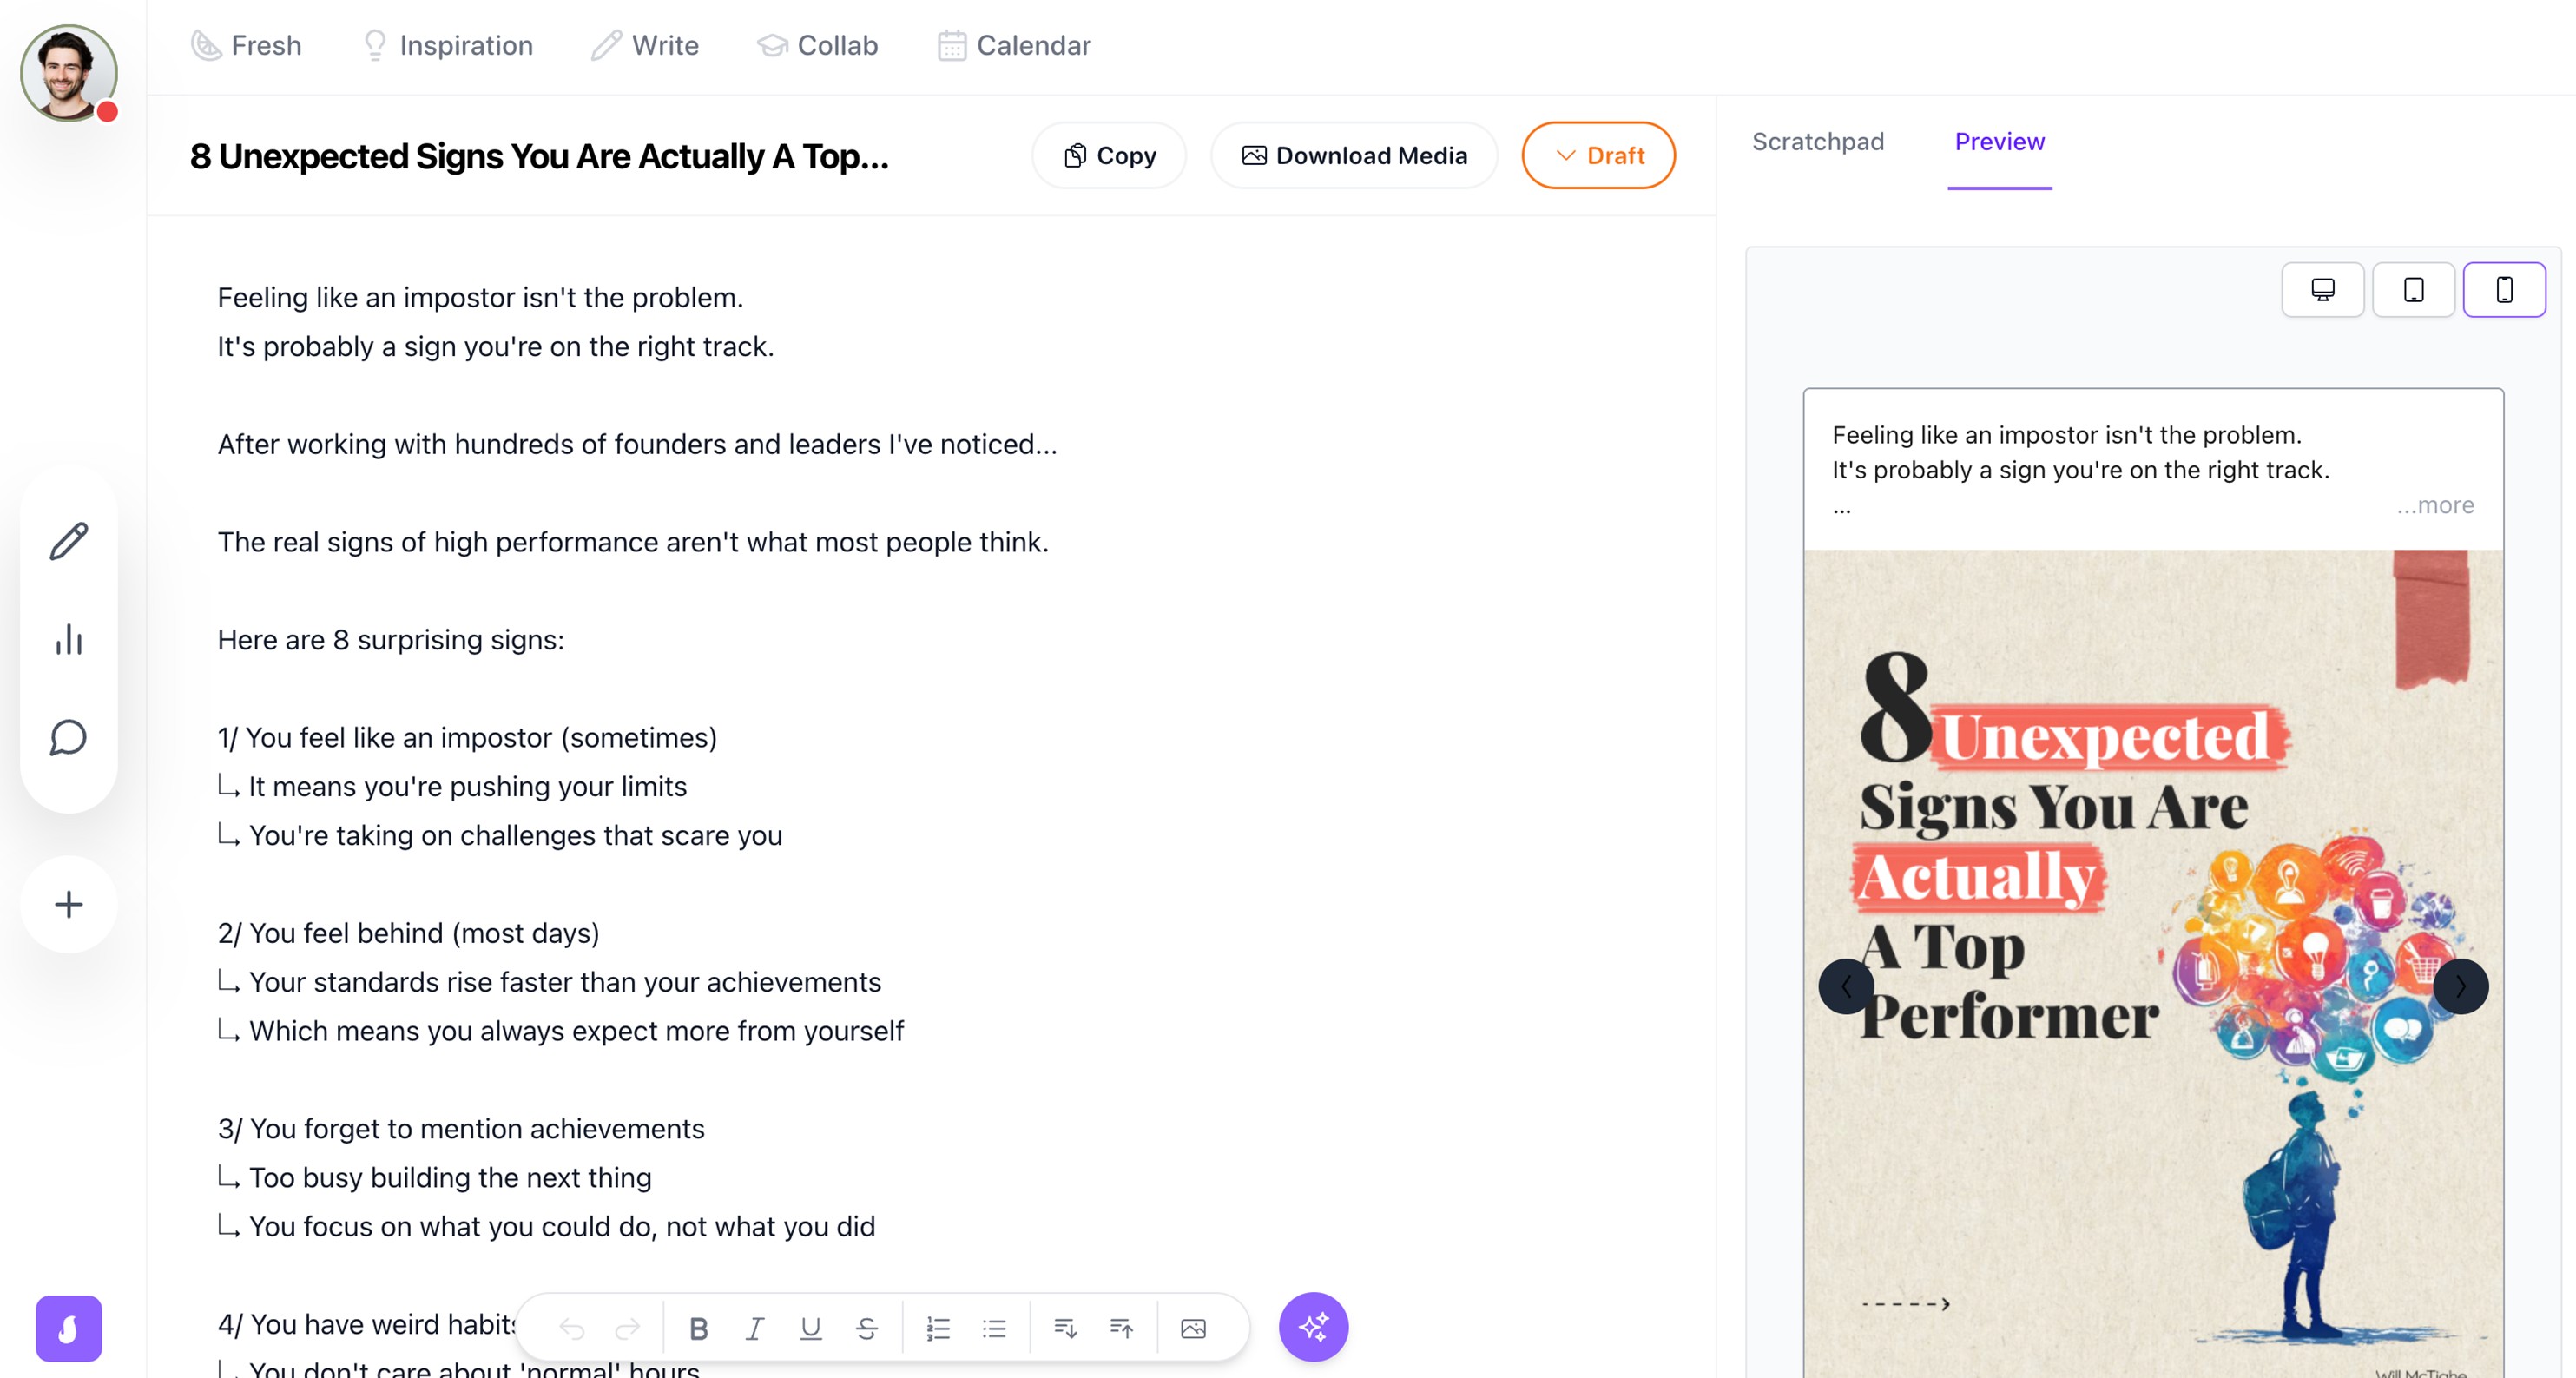
I always check how my attachments look on both desktop and mobile before posting using the Saywhat post previewer.
Test Different Attachment Types
Track which types of attachments perform best for your specific audience.
For my followers:
- Carousels perform best for step-by-step instructional content
- Single images work well for inspirational or thought-provoking posts
- Infographic PNG images excel for comprehensive guides
Optimize File Sizes
Smaller files load faster, especially on mobile connections.
I keep my images under 5MB and documents under 10MB whenever possible.
Common Problems and Troubleshooting
Even after doing this for over a 1 year, I occasionally run into issues with LinkedIn attachments.
Here are solutions to the most common problems:
Document Won't Upload
If your document fails to upload, try these fixes:
- Ensure it's under 100MB (LinkedIn's limit)
- Convert to PDF format
- Reduce the file size by compressing it
- Check your internet connection stability
- Try a different browser
Image Quality Issues
When your images look pixelated or distorted:
- Upload in the recommended dimensions (1200 x 1500px for optimal results)
- Use PNG format for graphics and diagrams
- Use JPG for photographs
- Avoid screenshots from phones – use proper export tools
Carousel Not Displaying Correctly
If your carousel isn't working as expected:
- Ensure all pages have the same dimensions
- Keep the file under 100MB
- Limit to 300 pages maximum (though I recommend way fewer)
- Export as PDF rather than uploading PowerPoint directly
One time I had a carousel that wouldn't display properly – turned out I had accidentally included transparent elements that LinkedIn couldn't render.
Converting everything to solid backgrounds fixed the issue immediately.
Don't Upload Infographics as Documents
A subtle mistake I see small creators make is uploading infographics as documents instead of images.
This seems like a small thing, but it really hurts how well your post does.

When you upload an infographic as a document, LinkedIn's algorithm compares it against carousels which have much higher dwell time (the time users spend looking at your content).
Since your one-page infographic doesn't keep peoples' attention as long as a multi-page carousel, the algorithm shows it to fewer people.
Always upload single-page visuals as images, not documents, so the algorithm ranks them fairly.
How Saywhat Can Improve Your LinkedIn Content Strategy
Growing on LinkedIn isn't just about knowing how to post – it's about having a plan that builds your brand over time.
This is where Saywhat helps the most.
When I was growing my LinkedIn, I spent hours going through LinkedIn profiles finding what worked and what didn't.
Now, Saywhat does much of this work for you by:
- Giving you ideas from top posts in your field
- Showing you which types of posts do best for you
- Helping you draft content that will actually stop the scroll
Some users have even grown from 7k to 20k followers in less than a month.
Most people think building a brand is guesswork - in reality it's a science.
The Bottom Line on LinkedIn Attachments
Adding attachments to your LinkedIn posts isn't just nice to have – it's completely essential to stand out in today's busy feed.
Visual content grabs attention, gets more likes, and helps show you know your stuff.
Remember that the goal isn't just to make your posts look good – it's to give real value to your network, potential customers and recruiters in the most effective way possible.
The right image or file can turn a good post into a great one, helping you build real connections on LinkedIn.
Ready to take your LinkedIn content up a notch? Try Saywhat free for 7 days and see how data can help you grow faster on LinkedIn.
Start building your personal brand today.
Join top executives and creators in using our AI-powered writing, community, and lead gen tools to scale your LinkedIn business.